Showing posts with label Budget DIY. Show all posts

Tuesday, 30 August 2016

Op Shop Chic

The old pine cabinet was painted white and cushions were found cheaply on Ebay.


You can fill your home with lovely good quality furniture and accessories, even on a small budget. I'm not talking about flat packed furniture either, unless that is what you love! Unfortunately, styles come and go and I have succumbed to the luring cheap prices of stores like Ikea and Kmart for furniture in the past, but most items just don't stand up to the test of time. Nope. I'm talking about buying second hand.

Hubby and I have always bought second hand. Our first bed was from a second hand store, our first couch was given to us by friends of my Nan's. I used to wish we could afford new furniture, and as time went on we did. To my surprise, the items we did by new didn't last long. A new fridge and washing machine were both unfix able within 3 years time. Which was crazy to me! Our previous second hand appliances had lasted almost 10 years! With the exception of the recent freezer that broke. That was when I realised, just like we have been told "They don't make things like they used to." Now I try to buy second hand where possible.


Microwave found for $20 at the tip shop.

Op shop chic is how I describe my home. It is filled with second hand furniture which we have collected over the years on verge pickups, in op shops, on Gumtree and have gratefully accepted  some from friends. I love the eclectic style of my home it and it is so exciting to find a great piece of furniture and image how it would look transformed with a coat of paint.


Another bedside table found kerbside. The top had a scorch mark, so I painted it white. 


 I have seen many gorgeous items of painted furniture in little boutique furniture stores. Most of the prices for shabby chic style furniture is just colossal, considering how easy it is to achieve at home!

I love using paint, it is a great frugal way to transform almost anything. We had an old pine TV cabinet with cupboards underneath. You can see in the first photo. It looked very outdated, but still very sturdy and in good condition. Rather than get rid of it, I decided to paint it with a coat of white gloss paint. I also bought a couple of cheap bookshelves from Ikea which sit perfectly either side of it. Unfortunately the backing on the shelves is just made of cardboard, but I can take them off when they wear out.

I did the same thing with a pine cabinet a friends mum gave us 18 years ago. It had narrow shelves, with doors. I took the doors off and painted the whole thing white and when it was dry scuffed up some of the edges for a shabby chic look. Then we had an instant dining room dresser.  This has now become shelving for Mr 10's home ed bookwork.

You can even buy cabinet knobs very cheaply on ebay. I love the look of  these crystal look ones
sometimes hardware or specialty stores stock them as well, but they are much cheaper to buy online. A painted cabinet would look amazing with new handles.


Dresser with the doors removed and painted.

We once bought a cheap flat packed desk for $30 from a hardware store that was closing down. This lasted for about a year, until we needed to move it when we had the new carpet put in and it promptly fell apart. I managed to salvage a part of it and this is now a cupboard in Miss 17's bedroom. Which was good for her, but left us without a computer desk. I went looking in our garage and came across a lovely bedside table with a pressed tin insert that we found kerbside. For some reason I have found many bedside tables on verge pick ups! I asked hubby if he could use it as a base for a desk.
About $15 in materials and a few days later, he and Mr 10 had built a wonderfully sturdy desk, to last us many years. Of course I painted it white. Excuse the mess in the before photo, this was when I was in the midst of de cluttering! 


Computer desk made from a bedside table, pallet wood for the supports and 2 lengths of pine for the top.


The finished desk with a coat of paint.


Of course there are many other wonderful things you can buy second hand for your home, most of the time for a fraction of the cost. Vintage linen, curtains, sheets, quilt sets, pictures and trinkets.  I once found beautifully soft pillows for $1 each.

Our bedroom setting was bought very cheaply from a friend who was upgrading. The lamps are vintage, given to me by my Nan. The shades were very worn, so I painted the bases silver and bought new shades. The purple wall hanging was a table runner that I stapled on to a verge pickup canvas.
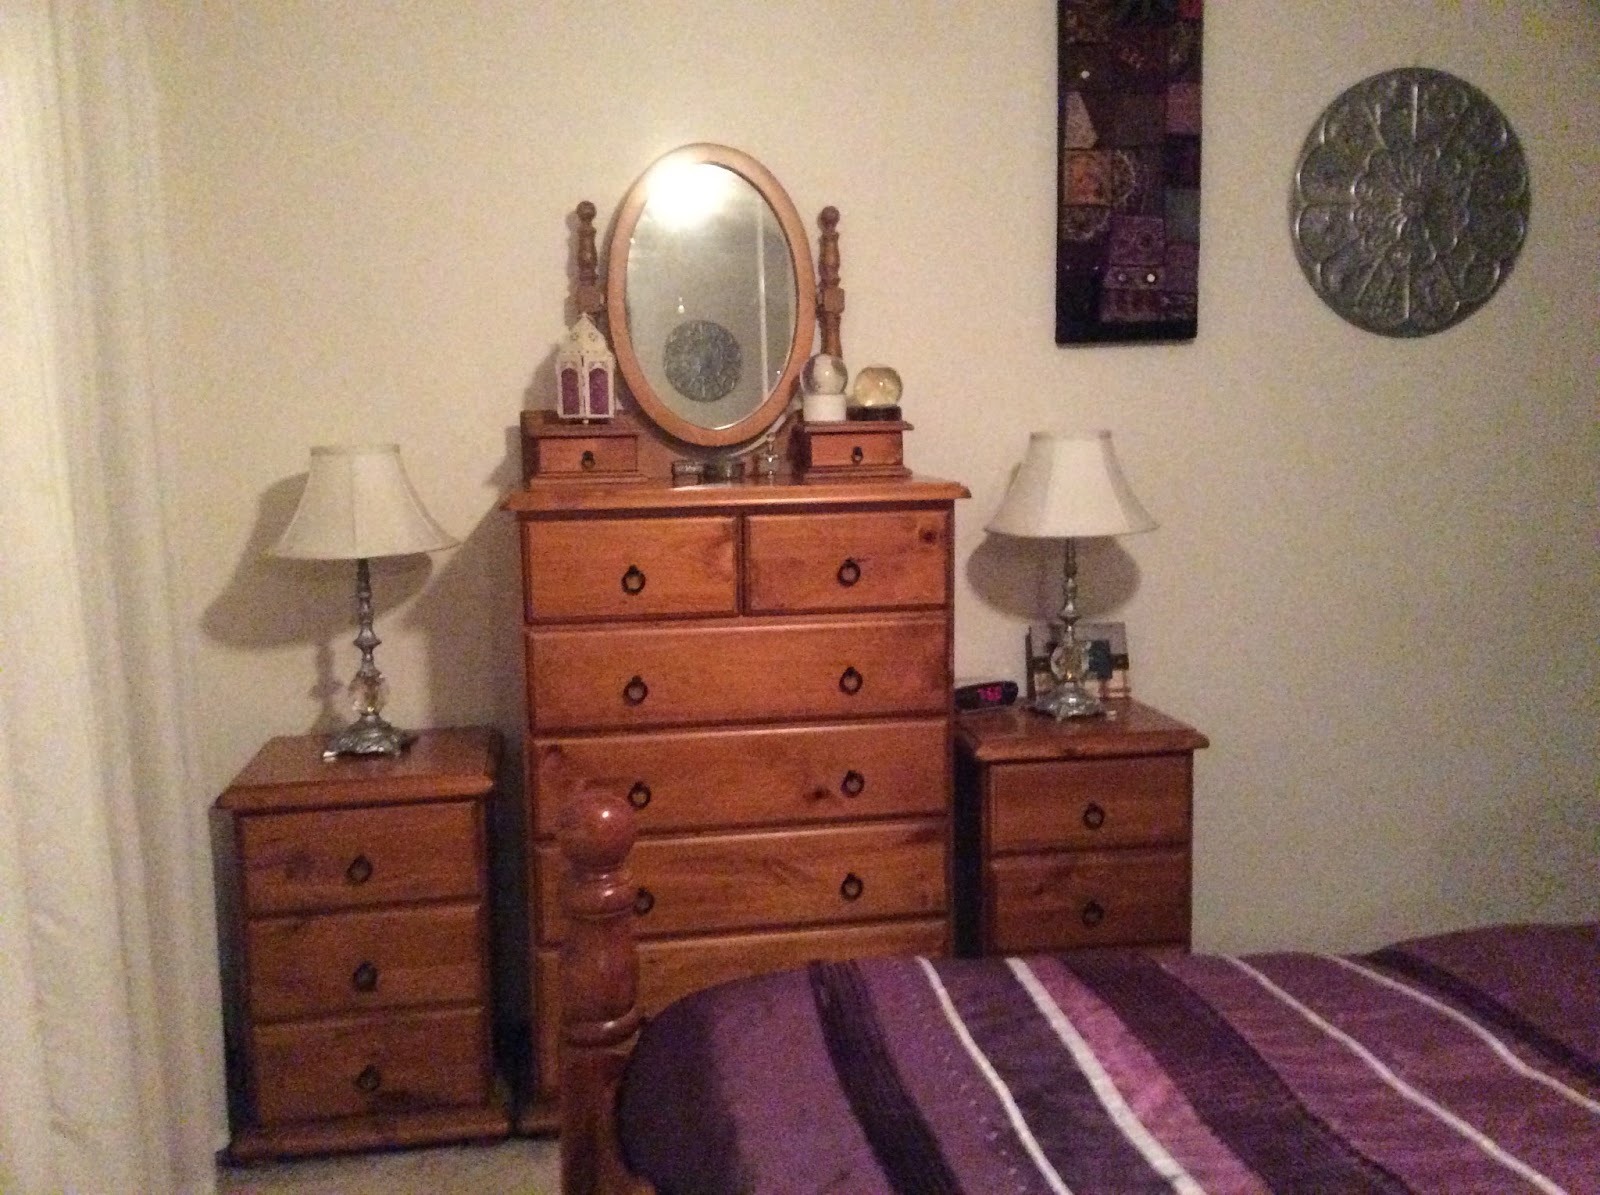


Our bedroom furniture.


Vintage lamps.


Miss 17's bargain bed.

Of course my latest second hand bargain was miss 17's $30 bed, which included the base, mattress, foam and wool underlays, sheet set, and quilt set. We will never find another bargain that good, I think!
Is your house furnished with op shop treasures?

Tuesday, 2 August 2016

How To Whitewash Brick Walls

Our finished whitewashed walls.


Our large games room, which is really our main living space, has exposed brick walls. In all the years we have been here, I've never really been a fan of this look. I had thought about painting the walls when we moved in but hubby did not like the idea, we had talked about cladding the walls but that was going to cost a lot of money and I didn't see it as a necessary expense.

 I was on Pinterest one day, looking for inspiration and came across a lovely home with white washed exposed brickwork. I showed hubby the images and suggested we could white wash the walls. At this stage he had just repaired the ceiling and I had painted it, so we still had a large tub of ceiling paint left. I figured I would bite the bullet and start with a small area that could be covered up by furniture if we didn't like it.

I started by cleaning the bricks down with a cobweb broom as they were really dusty.


I mixed up a small amount of paint with water in an old bucket. The ratio I used was half paint and half water, then stirred well.


I started painting in the mortar first as this part was quite time consuming, you really need to get the brush into all of the gaps. Then once I did a section of the mortar, I would paint lightly over the entire brick/s.


We have four main walls in the room and I aimed to do one wall every day, or at least every few days when I had spare time. This is a huge room! I had a lot of fun doing this project and it was just so cheap. Painting is quite meditative to me.

A big tub of ceiling paint cost $45 and was enough for me to paint our ceilings and do these walls. Because our bricks are a light colour, I decided to only do one coat. If your bricks are darker I would suggest maybe two coats.


Here you can see the difference in the old brickwork vs whitewashed brick. I love it so much!

I covered up the furniture with old sheets and plastic before painting but wasn't too worried about the carpet as we were getting new flooring soon anyway.

Since doing this project, I have seen white brick wall paper at Masters with quite a high price tag.

So here are the before and after pictures. What a difference a bit of paint can make! 


Before


And after.


Monday, 29 February 2016

Pool Renovation


Last year we spent a lot of time on projects around our house. The previous year was spent building up enough money and saving every dollar to be able to pay for these repairs in cash. The first task we did was to get our pool renovated. We had not been able to use the pool for a few years due to it having some big cracks and leaking water. There was also a large patch of concrete-from when we first moved in several years ago- that was lifting.

I rang about 20 different companies to get a rough idea on price and most were around the $15 000 mark! I could not believe it, this job alone would gobble up all of our savings. We looked into doing the job ourselves but realised the concrete pool would need an over all coating, not just a patch and paint job like we did when we first moved in. We would need a fiberglass coating. It was decided we would hold off on the pool until we had saved up some more money. At this point we even looked into filling the pool in, it certainly would be cheaper! But we love the pool in summer and having one helps keep our cooling costs down. Also our pool area is entirely fenced off and raised, making it difficult, plus having a pool would help resale value if we decide to sell our house later on.

 I then compiled a list of companies that I had already called, and found one I must have missed. I called and gave them the measurements of our pool and they gave me a quote of $9000 which was $6000 cheaper than the previous quotes, we were hoping for it to cost under 10k so this was perfect! The company were booked out for a few months in advance, but because we were in no rush, this was fine.

 Ideally we try to do most renovation jobs ourselves but in some cases this is just not possible. I am so happy with the finished result, and we have been using the pool almost every day this Summer. A few years ago I would never thought it was possible that we could save up enough cash to pay for this and I was even looking at refinancing our mortgage to afford these repairs! I'm so glad we stick to our savings goals as it has certainly paid off! To those who think that that something like this might be out of their reach, I say stick with it, keep saving hard and have your goal in mind. It may take a few years but you will get there!

Before: One of the large cracks. The only ones getting use of this pool are the frogs.


Before: Beneath the murky water is the lifting concrete.


Before: Pool water being pumped out ready for repairing.


After: Resurfacing is complete.


I love it.


The boys enjoying our pool.


Tuesday, 5 January 2016

Thrifty Front Yard Makeover


Before
Before
                                                                                                 

I'm finally getting around to posting about our front yard makeover which was done in March last year. This was one of the projects we tackled after our last debt free holiday to Melbourne. It was after this trip in 2013 that we decided to start a savings account- and to live as cheaply as possible. The goal in mind was to put as much money into savings as we could- to get the many repair jobs done around the house which would all be paid for in cash.

Our budget was originally $1000, in the end we were over by $500 because we underestimated how much gravel we would need.

The front yard was an eye sore, garden beds were totally overgrown with couch grass and a creeping vine called morning glory. There would be times when we managed to get some weeding done to make the place look a bit more presentable but within a week or two it would have grown back.

We decided that we no longer have the time or energy to maintain a front garden, we would prefer to invest any effort in our backyard vegetable gardens. So the plan was to turn our front yard into a low maintenance and water saving garden with street appeal. The plan was that we would have a couple of small and manageable garden beds with local Australian native plants and wood chips, while the rest would be red pea gravel.

Because the couch was such an issue we needed to hire someone with a bobcat to come and dig a layer of soil out deep enough for the gravel.


We left a few of the bigger bushes and trees.Then we used some metal edging which was here when we bought the house, to mark out where we wanted the garden beds to be and bought a few native plants from a local nursery.


Then we laid weed matting over the entire area and cut out holes for the plants, hoping this would stop the couch and morning glory from popping through.


We gladly accepted some free wood chips from a neighbour and used it in the garden beds. I also repainted the mailbox and small fence with some free sample paint tins. Since then I have still been collecting the paint samples when they are available and always get the same colour- ironstone, I have now painted our window frames and side fences.


We also laid weed matting over the area that would be filled with gravel. Spreading the gravel was really hard work. But we all pitched in and helped. I can't get over how young my kids look in these photos.


And now here's some after photos. The thing I love about our front yard, is how neat and tidy it looks now compared to before. Plus the only maintenance we need to do is pull a few weeds every few months. The birdbath in one of the back garden beds was found during a verge collection. I'm really happy with our thrifty front yard makeover and that we did it on a budget.

After


We reused coffee rocks we already had for the borders


The birdbath found on a verge collection